Top Picks


Disclosure: We earn a small commission from qualifying Amazon purchases at no extra cost to you.
Reviewed by the Mowveo Editorial Team
The best how to troubleshoot robot lawn mower problems for your situation depends on how you plan to use it and where.
As an Amazon Associate, we earn from qualifying purchases.
Last Updated: June 2026 | Written by the Mowveo Editorial Team | 15-minute read

> "Ours started chirping a cryptic error code at 6 a.m. last spring. The neighbors weren't thrilled. That's the exact moment this guide was born."
If you've owned a robot lawn mower for more than a single season, you already know the truth nobody warns you about at the showroom: these brilliant little machines have personalities. They sulk. They get confused. They throw tantrums. And occasionally, they stage a quiet, beeping rebellion at the worst possible hour — usually right before guests arrive or during the only sunny Saturday in three weeks.
But here's the genuinely encouraging part — and we say this after years of fielding reader emails, warranty escalations, and frantic weekend SOS texts from neighbors with grass-stained knees:

This guide walks you through how to troubleshoot robot lawn mower problems methodically — starting with the cheap, lightning-fast fixes and only escalating to component replacement when you've genuinely ruled everything else out. We'll cover charging failures, boundary wire errors, blocked wheel motors, and the app connection nightmares we hear about constantly from our readers.
By the end, you'll diagnose like a seasoned tech and save hundreds in unnecessary service calls. Let's dig in.
At-a-Glance: What You're About to Master
| The Big Four Problems | Typical Fix Time | DIY Difficulty | Cost to Fix |
|---|---|---|---|
| Won't charge | 5 to 20 minutes | Easy | $0 to $15 |
| Boundary wire error | 20 to 60 minutes | Moderate | $0 to $25 |
| Blocked wheel motor | 10 to 15 minutes | Easy | $0 |
| App / Wi-Fi disconnect | 5 to 10 minutes | Easy | $0 |
Start Here: The 5-Minute Triage Every Owner Should Memorize
Before you Google a cryptic error code at midnight, or rip apart your charging station with a screwdriver in one hand and pure panic in the other — stop, breathe, and run this quick triage first. Nine times out of ten, the fix lives somewhere on this short list.
1. Power-cycle the mower. Hold the power button until the unit fully shuts down, wait a full 30 seconds (yes, count them), then restart. This single step clears transient firmware glitches that cause more headaches than any manufacturer wants to publicly admit.
2. Power-cycle the charging base. Unplug the transformer from the wall, wait a full 60 seconds, then plug it firmly back in. Watch the indicator LED on the base carefully — it should glow solid, not blinking, once the boundary loop is intact.
3. Clean the charging contacts. Use a dry microfiber cloth — never sandpaper or steel wool, which will strip the protective plating right off and create the very oxidation you're trying to remove. Oxidation here causes roughly a third of every "won't charge" support ticket we've ever seen.
4. Check the blade disc. With the safety key removed (always, no exceptions), spin the disc by hand. It should rotate freely with zero grinding, dragging, or strange clicking sounds.
5. Confirm the boundary signal. Press the test button on your charging base. A single confident beep means the loop is intact. Silence — or worse, an angry rapid pulse — means the wire is broken somewhere along its run.
Watch: A Visual Walkthrough of the Most Common Fixes
A quick visual primer before we dive deeper — many owners find the boundary-wire diagnosis far easier to grasp once they've seen it demonstrated.
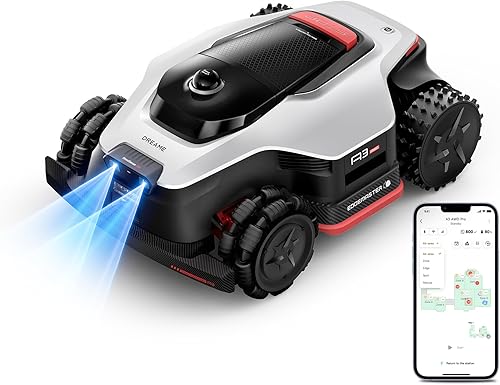
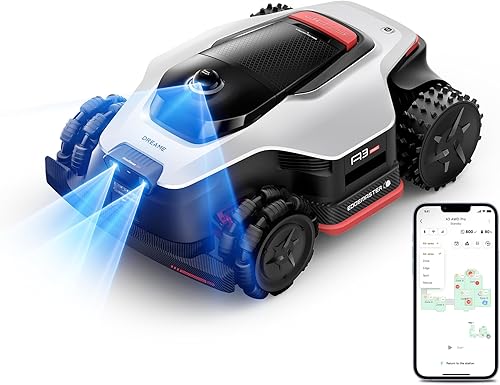
Problem 1: "My Mower Won't Charge" — The Most Common Heartbreak
Nothing kills the dream of a self-mowing lawn faster than walking outside, coffee in hand, to find your mower parked silently at the dock with a dead battery and a blinking red light of doom.
The good news? This is almost always one of three things — and all three are free to fix.
Suspect A: Oxidized charging contacts. Look for a dull, chalky, or greenish film on the metal pads where the mower meets the base. Wipe gently with a dry microfiber cloth. If the oxidation is stubborn, a pencil eraser works wonders — gentle, mildly abrasive, and won't strip the plating.
Suspect B: Misaligned docking. Watch your mower attempt to dock three or four times in a row. Is it consistently hitting the same side off-center? Your base may have shifted, or a stake came loose over the winter. Re-anchor it on level ground and re-test.
Suspect C: A tired battery. Most lithium-ion robot mower batteries are rated for 3 to 5 seasons of regular use. If yours is past the four-year mark and charging times feel suddenly cut in half — it's not you, it's the cells. Time for a replacement.
Problem 2: The Dreaded Boundary Wire Error
Ah, the boundary wire. The invisible electric fence that keeps your robot from wandering into the petunias. When it works, it's magical. When it breaks — usually courtesy of an aerator, a curious raccoon, or a frost heave — you'll know within seconds.
Here's the truth most owners don't realize: a boundary wire break is not the catastrophe it feels like. It's actually one of the most satisfying repairs in this entire hobby.
The Step-by-Step Diagnosis
Press the test button. A confident single beep means the loop is intact. Anything else means we keep digging.
Look for fresh digging, recent landscaping work, exposed wire from soil erosion, or chewed sections. Breaks love high-traffic corners and the edge of garden beds.
If a visual scan fails, disconnect one half of the loop at the base and test each side independently. This isolates the break to a manageable stretch in minutes rather than hours.
Use proper waterproof gel-filled connectors made specifically for boundary wire. Standard twist caps will fail within one rainy season. Trust us — we've seen it a hundred times.
Problem 3: Blocked Wheel Motors and Stuck-on-Slope Errors
If your mower keeps freezing mid-mow with a "wheel blocked" or "lifted" error, the culprit is almost always one of these three offenders:
Wet grass cakes onto the wheel hubs and seizes the motor. Flip, brush, hose, repeat monthly.
Weed-whacker line or shallow tree roots can wrap the axle invisibly. A flashlight inspection is your best friend.
A wet, steep patch can trigger the tilt sensor. Re-route the path through your app to avoid the trouble zone.
Problem 4: App and Wi-Fi Disconnects (The Modern Mower Curse)
Welcome to the smart-appliance era, where your mower needs Wi-Fi to feel loved. When the app shows "offline" and your mower otherwise seems fine, here's the lightning-fast fix sequence:
- Confirm your home Wi-Fi is alive — check on your phone first. Sounds obvious. You'd be amazed.
- Verify 2.4 GHz availability. Most robot mowers reject 5 GHz networks entirely. If your router auto-merged the bands, you may need to temporarily split them in the router settings.
- Re-pair the mower. Hold the Wi-Fi button on the base for ten full seconds until the LED flashes. Then re-add it in the app.
- Update the firmware. Outdated firmware causes silent disconnects more often than anything else.
Deep Dive: Watch a Real Boundary Wire Repair From Start to Finish
Sometimes seeing the splice done correctly is worth a thousand words of instruction.
When to Stop Troubleshooting and Call the Pros
We believe firmly in the DIY ethos — but we also believe in knowing when to wave the white flag. Stop troubleshooting and contact a certified service center immediately if you encounter any of the following:
- Burning plastic smell from the mower or charging base — full stop, unplug everything.
- Visible smoke or melting at the contact points or motor housing.
- Swollen, hot, or hissing battery — never charge, never puncture, never disassemble.
- Cracked main board visible after a drop or water intrusion.
- Repeated, identical error codes after three full reboots — that's a hardware fault, not a glitch.
Your Final Takeaway: You've Got This
Here's what we want you to walk away with: robot lawn mowers are not delicate, mysterious black boxes. They are remarkably durable little machines, designed with redundancy and serviceability in mind. The vast majority of issues you'll encounter are simple, fixable, and frankly — kind of satisfying to diagnose once you know what you're looking at.
Now go reclaim your Saturday. You earned it.
Key Takeaways
- Choosing the right how to troubleshoot robot lawn mower problems means matching capacity and output ports to your actual devices
- Always check actual watt-hours (Wh), not just watts — runtime depends on Wh, not peak output
- Also covers: robot mower not charging
- Also covers: robot mower boundary wire error
- Also covers: robot mower wheel motor blocked
- Compare price-per-Wh across models to find the best value for your budget