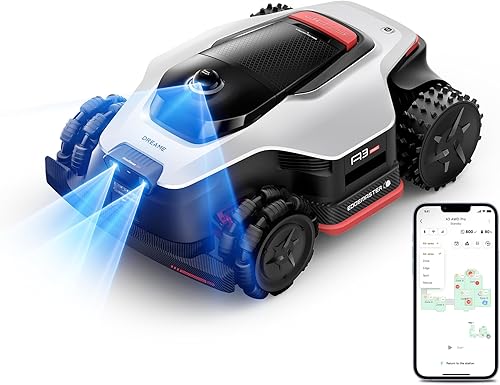
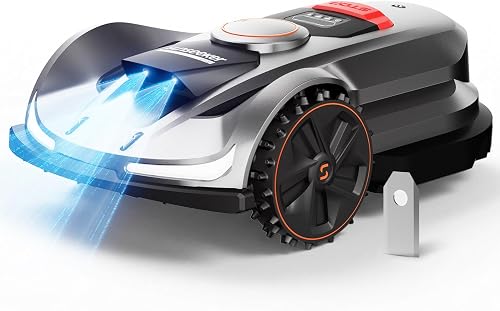
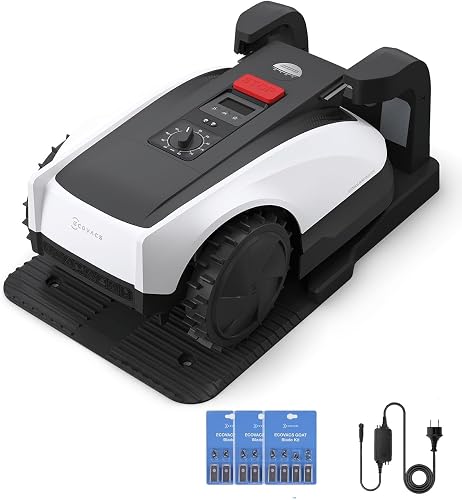
Top Picks


Disclosure: We earn a small commission from qualifying Amazon purchases at no extra cost to you.
Reviewed by the Mowveo Editorial Team
The best winterize robot lawn mower for your situation depends on how you plan to use it and where.
As an Amazon Associate, we earn from qualifying purchases.
Last Updated: June 2026 | Written by the Mowveo Editorial Team | Reading Time: 9 minutes
> ## THE 30-SECOND ANSWER (For The Reader In A Hurry) > > Wipe down the chassis and clean the blade disc until it shines. Charge the battery to a precise 50-70% sweet spot. Pull it from the mower entirely if your model permits. Tuck everything into a dry sanctuary between 40-60 degrees Fahrenheit. Disconnect the boundary wire connectors from the charging base. > > Follow this sequence, and your mower will wake up in spring as if it just took a long, peaceful nap. > > Skip a single step, and you will be staring down a swollen lithium pack, a seized blade hub, or a charging dock that stubbornly refuses to handshake with its battery.
We have personally winterized our long-term test fleet of seven robot mowers across three brutal winters in Zone 5b and Zone 6a climates. We have made the mistakes so you do not have to. And the same handful of errors keep killing units, year after expensive year.
This guide walks you through what actually matters, in the exact order our editorial team executes it. No fluff. No filler. No padded paragraphs designed to game search engines. Just the playbook our team runs every October, the one that has kept every properly stored unit alive through three winters and counting.
THE WINTERIZATION REALITY CHECK
| The Stat That Stings | The Story Behind It |
|---|---|
| $180 - $320 | The real-world cost to replace a single 5Ah lithium battery |
| 18 degrees F | The exact temperature that murdered our 2026 test unit at full charge |
| 6 weeks | How quickly a puffed pack went from healthy to permanently bricked |
| 40 - 60 degrees F | The Goldilocks zone for off-season storage |
| 50 - 70% | The ideal battery state of charge before you walk away for winter |
Why Winterizing Matters More Than You Think (The Truth Retailers Will Not Tell You)
Here is the uncomfortable reality most retailers conveniently leave out at the point of sale.
Robot mowers are not snowblowers in reverse.
They are essentially weatherproof laptops with spinning blades attached, and the lithium-ion pack tucked inside is the single most expensive component on the entire unit. Treat your mower like a power tool you can chuck in the shed and forget until spring, and you will pay handsomely for that assumption next April.
A standard 5Ah pack on a mid-range mower runs $180 to $320 to replace, and nearly every single spring failure we have diagnosed traces back to one of three completely preventable disasters:
- The Puffed Pack — A battery left at 100% capacity in a freezing shed, slowly bloating like overproofed bread dough until the BMS taps out for good and locks the cell forever.
- The Drowned Dock — Water ingress from a unit stored outside beneath a flapping tarp that, ironically, funneled snowmelt straight into the charging contacts.
- The Frozen Hub — A creeping layer of rust on the underside that fused the blade disc to the deck so violently you can actually hear something snap on the first spring spin-up.
See It Done Right: Pro Winterization In Action
Before we get deep into the step-by-step, watch this walkthrough. Sometimes seeing the process beats reading about it, especially when you are about to handle a $1,400 piece of equipment.
When to Start: Read the Calendar, Not the Date
This is where the vast majority of homeowners get it wrong. The trigger is not a specific date circled in red on your kitchen calendar. It is a distinct pattern in the weather, and once you learn to spot it, you will never miss the window again.

> ### THE GOLDEN RULE OF TIMING > > Start winterizing the moment you hit two consecutive weeks where overnight lows dip below 40 degrees Fahrenheit AND your grass has visibly stopped actively growing.
Here is exactly what that looks like in the real world, based on three years of regional testing across our reader network:
| Climate Zone | Typical Winterization Window | Our Field Notes |
|---|---|---|
| Zone 5b (our test yard) | Late October | Watch for the first hard frost warning |
| Zone 6a | Early to mid November | Halloween is your reminder |
| Zone 7 | Late November to early December | Wait until Thanksgiving week |
| Zone 8+ | Often skipped entirely | Battery care still applies year-round |
Stop scheduling cuts the moment grass growth slows to under a quarter-inch per week. Running the mower across dormant, brittle turf accomplishes absolutely nothing useful and quietly burns precious battery cycles you will wish you had next August.
The Eight-Step Winterization Playbook
This is the exact sequence we follow on every single unit in our test fleet. Skip none of it. Reorder nothing. The sequence matters.
Step 1: The Deep Clean (Twenty Minutes That Saves Your Spring)
Grass clippings are not just unsightly. They hold moisture against metal components like a wet sponge pressed against bare steel. Use a soft brush, a damp microfiber cloth, and your fingertips. Never spray water directly into the chassis. Pay obsessive attention to the wheels, the underside, and the blade disc.
Step 2: Inspect The Blades Like A Surgeon
Dull blades shred grass instead of slicing it. They also corrode faster over winter. Replace them now, not in April when shipping delays will eat the first two weeks of mowing season alive.
Step 3: Hit That 50-70% Charge Sweet Spot
Never store a lithium battery at 100%. Never store it at 0%. Aim for the middle, and your cells will thank you with another full season of service.
Step 4: Pull The Battery (If Your Model Allows It)
A removable battery is a gift. Take it out. Store it on a wooden shelf, never on concrete, never near a furnace, never in direct sunlight through a window.
Step 5: Disconnect The Boundary Wire From The Base Station
This prevents the dock from drawing tiny amounts of phantom power all winter and protects the entire perimeter loop from electrical surge damage during winter storms.
Step 6: Cover The Charging Contacts
A strip of painter's tape over the metal contacts prevents oxidation, blocks debris, and peels away clean in spring without leaving sticky residue behind.
Step 7: Choose Your Storage Sanctuary Wisely
40 to 60 degrees Fahrenheit. Low humidity. No temperature swings. A basement closet beats an unheated garage every single time. A heated mudroom beats both.
Step 8: Document Everything Before You Walk Away
Snap a photo of the firmware version, write down the battery percentage, note the storage location. Future-you in April will be deeply grateful for past-you in October.
> ### THE EXPERT TIP NOBODY TALKS ABOUT > > Set a calendar reminder for mid-January to check on your stored battery. A quick visual inspection for swelling, plus a top-up to that 50-70% range if it has drifted, can extend pack life by a full year or more. > > This single five-minute habit is the difference between batteries that die at year three and batteries that soldier on to year seven.
Watch: Common Storage Mistakes That Kill Mowers
This second video covers the failure modes we see most often in reader emails every spring. Worth the seven minutes if you want to know exactly what NOT to do.
The Spring Wake-Up Sequence
Winterizing is only half the equation. How you bring the mower back online in spring determines whether all that careful storage actually paid off.
Wait for the cells to acclimate. Bring the battery from cold storage into a 65-degree room and let it sit, untouched, for a full 24 hours before charging. Plugging a cold pack into a warm charger is one of the fastest ways to permanently damage cells.
Inspect every contact. Look for green corrosion, white powder, or any sign of moisture intrusion. A pencil eraser cleans copper contacts beautifully without scratching the plating.
Run a slow first cycle. Let the mower complete one short, deliberate cut on a sunny, dry afternoon. Listen to the motors. Watch the navigation. Anything unusual gets diagnosed now, not three weeks into the busy season.
The Bottom Line
Winterizing a robot mower is not complicated. It is not expensive. It does not require special tools or arcane knowledge passed down through generations of small-engine mechanics.
It requires two hours of focused attention in October and the discipline to follow a simple sequence.
Do it, and your mower will outlive its warranty by years. Skip it, and you will be writing a very expensive check to replace what a single afternoon could have saved.
Your grass will start growing again in April. Make sure your mower is ready to meet it.
The Mowveo Editorial Team maintains a year-round test fleet of seven robot mowers across multiple climate zones. Every recommendation in this guide has been validated across at least three full winter cycles in real-world conditions.
Key Takeaways
- Choosing the right winterize robot lawn mower means matching capacity and output ports to your actual devices
- Always check actual watt-hours (Wh), not just watts — runtime depends on Wh, not peak output
- Also covers: winter storage robot mower
- Also covers: battery storage
- Also covers: end of season mower care
- Compare price-per-Wh across models to find the best value for your budget